If you're interested in DIY SMT stencils, you might want to check out this article.
Let's say you've got a few T12 soldering station boards you'd like to assemble to pass the time. Hand soldering can be slow and labor-intensive—so what's a better way? This guide shows you how to make your own stencil and use solder paste for a faster, cleaner assembly process.
You can etch a 0.2mm copper-clad board to remove the copper and drill holes to create your own stencil. If you don't have a 0.2mm copper-clad board but do have a 1.6mm one, you can use a CNC machine to drill holes and then mill it down to 0.2mm—that works too.
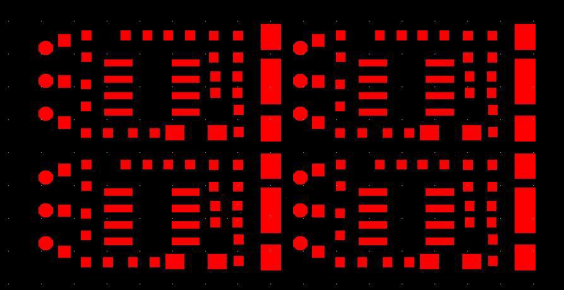
Here's what the Gerber file looks like:
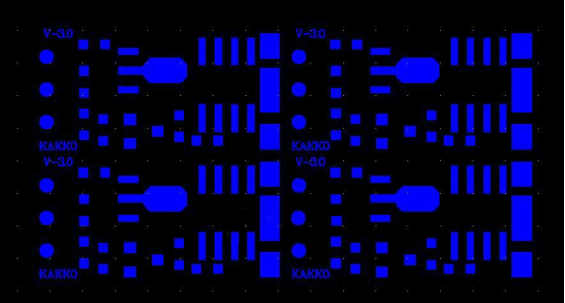
And here's the bottom layer:
Using a CNC machine to drill the holes is simple—just drill through the pads where the SMD components will go.
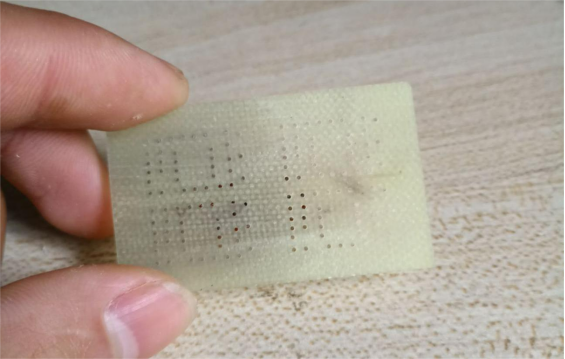
For example, 0604 resistor pads can be drilled with 0.8mm x 0.8mm holes.
If you're skilled at manual work, you could use a 0.6mm tungsten drill bit to drill the holes yourself. After that, use an end mill to shave down 1.4mm of thickness. Align the stencil with your board and brush on the solder paste. However, keep in mind that with small holes and a thin board, there may not be enough solder paste, which can lead to weak or cold joints. Also, thin epoxy boards can warp easily and might not align precisely.
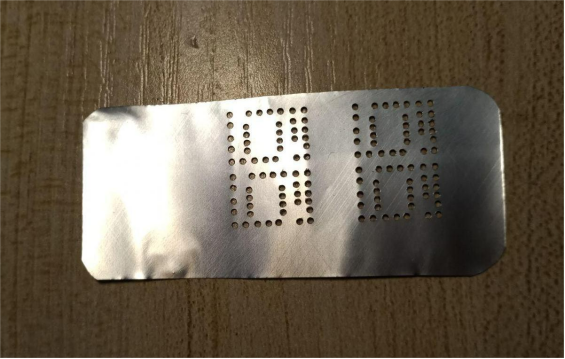
Another trick: you can use an aluminum soda can. The thickness is close, and you can cut a piece and drill holes with a CNC machine. Since the can is aluminum, you can directly drill with a 1.0mm bit. The final stencil might curve a little, but it won't affect accuracy.
For alignment, stick two scrap boards on both sides of your stencil using double-sided tape as a mold to help keep it in place. Secure the boards around the edges but make sure the middle board can slide back and forth a bit—not too tight, or you might smear the solder paste when you remove the board.
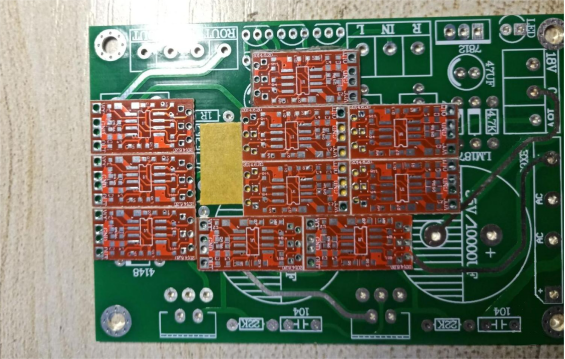
Slide it slightly back and forth until it feels right. No need to over-tighten.
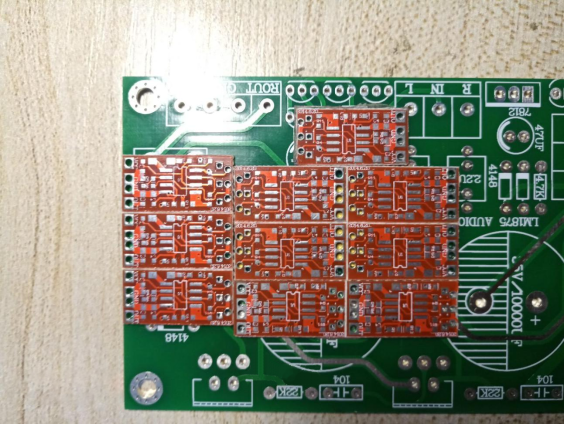
You need to line up the stencil with the pads and double-check the alignment.
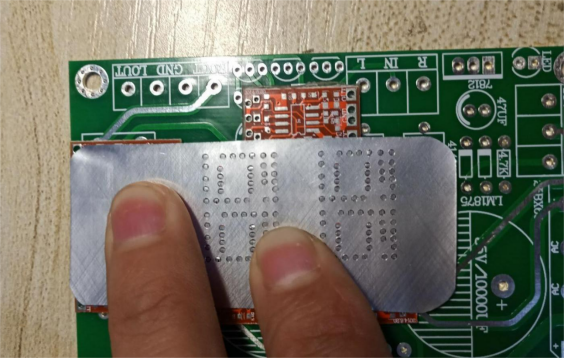
You need to stick on some double-sided tape and press it firmly in place.
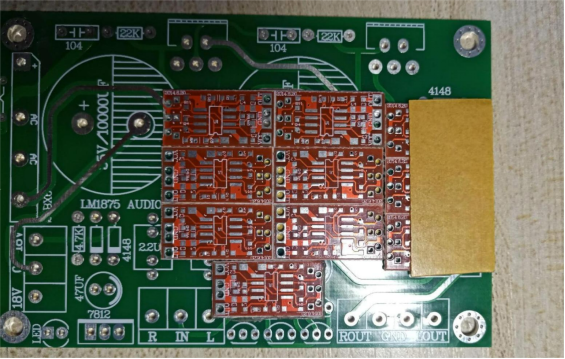
You could make sure all the pads are properly aligned before moving forward.
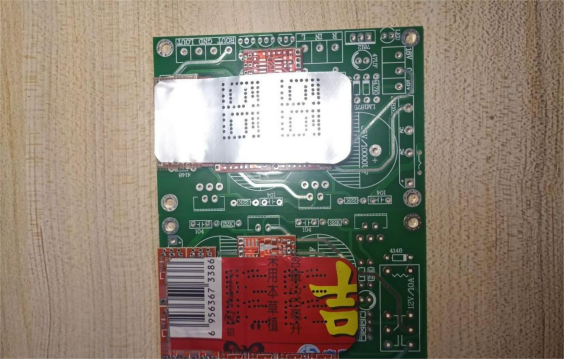
Now it's time to apply the solder paste. If you don't have a proper stencil squeegee, you can use any tool that gets the job done.
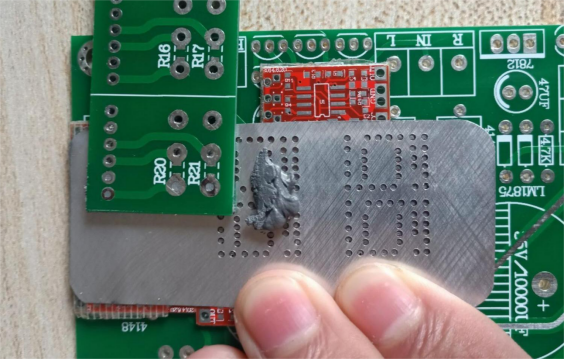
Here's what it looks like after brushing on the solder paste—pretty good coverage and even paste on each pad.
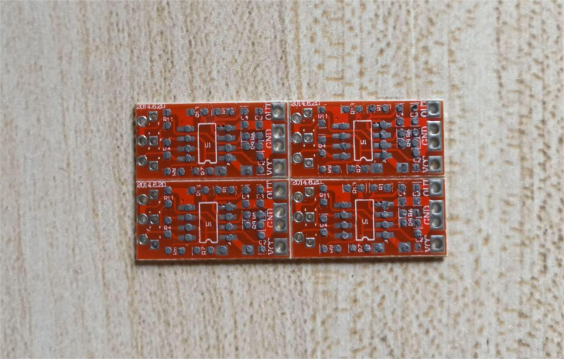
On the back side, because the soda can isn't completely flat, some pads might get uneven paste from repeated brushing, but that won't really affect usability.
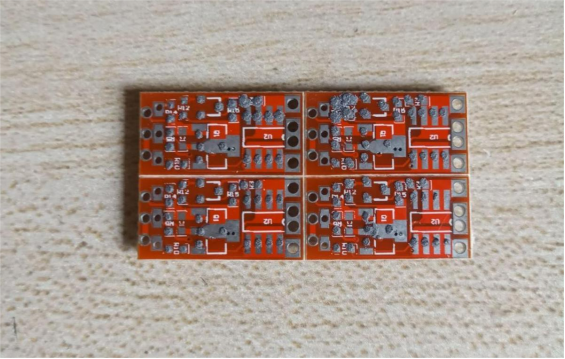
Next, place your components onto the board.
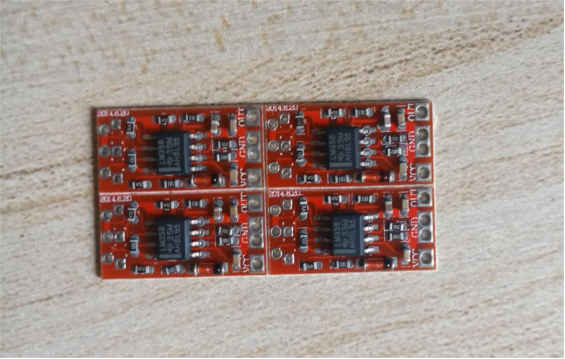
Here's the backside view:
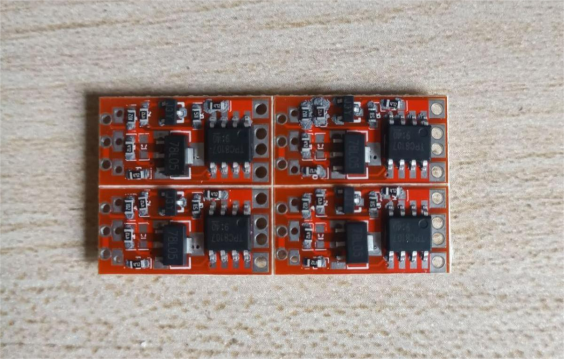
Now it's time to solder. Use a hot air gun to gently heat the whole board in circles so it heats up evenly.
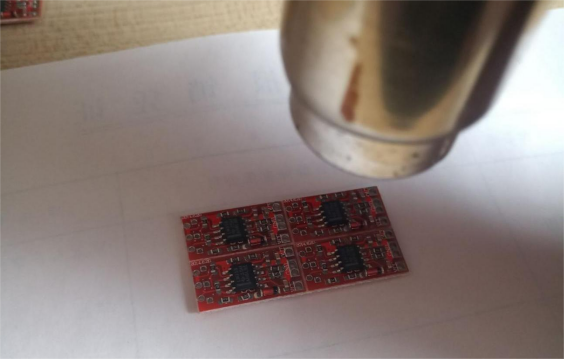
Then, target specific areas to finish the job. Even if some components are a bit crooked, the melted solder will naturally pull them into place—kind of like reflowing a BGA.
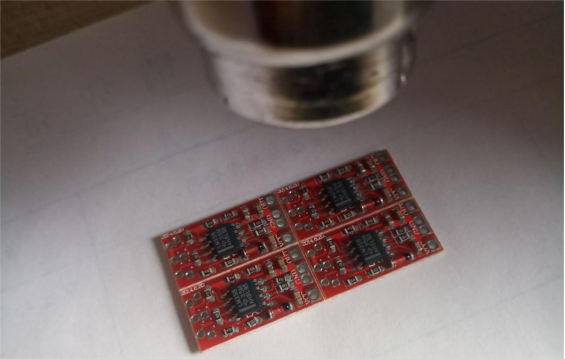
After soldering, here's what the final result looks like:
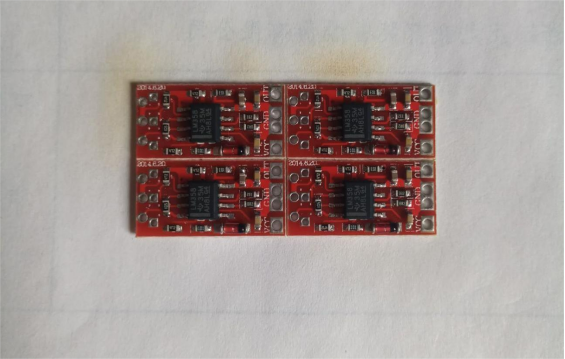
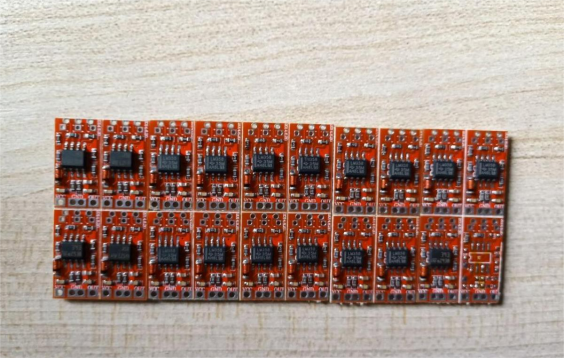
If you made a mistake in the Gerber file—like accidentally deleting a capacitor—you might be missing a couple of holes. No problem, you can always solder that part manually later.
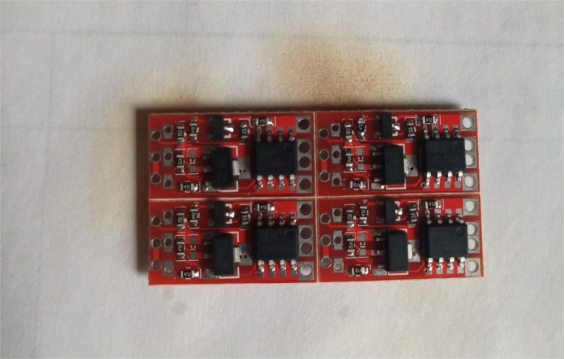
Here's the completed board:
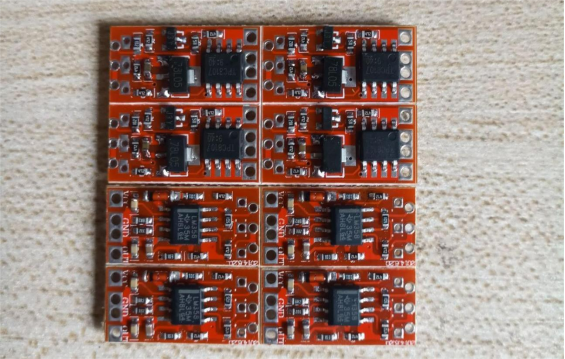
You can make several boards at once and stencil 12 pieces in one go. If any trace is broken, just mark it with an X and skip that one. You can still assemble a couple of LM393s on the others.
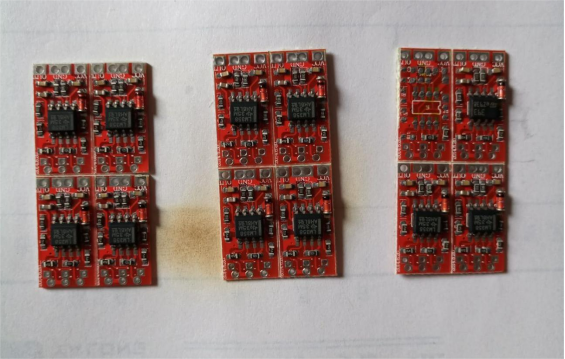
And that's it—you're done!
