
If you're into DIY electronic alarm clocks, this article might be just what you're looking for.
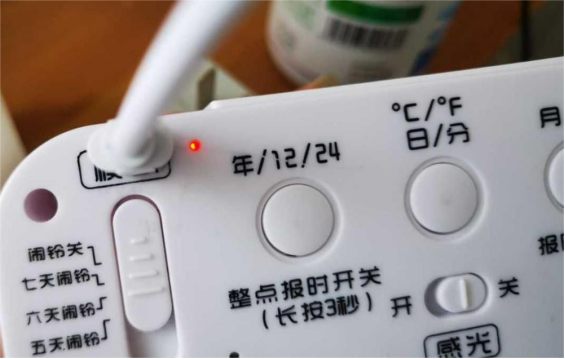
Here's the battery-powered digital alarm clock that's going to be modified. It has a decent build quality, comes with automatic backlight and temperature display. Here's what it looks like:
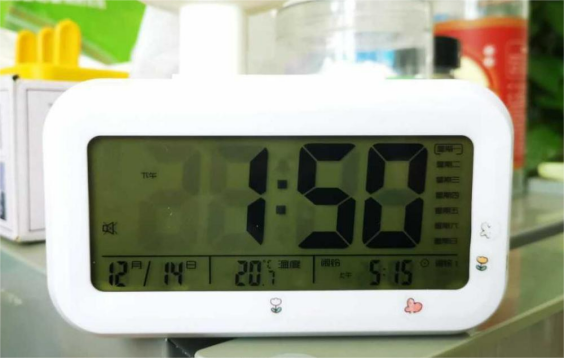
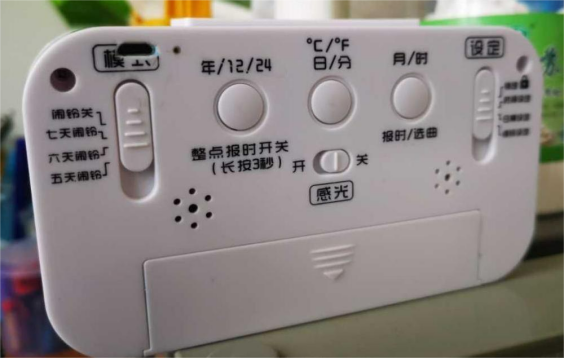
Step 1:
Here's how it looks once finished. With a 2100mAh battery and no nightlight enabled, it's expected to last over a year on a single charge.
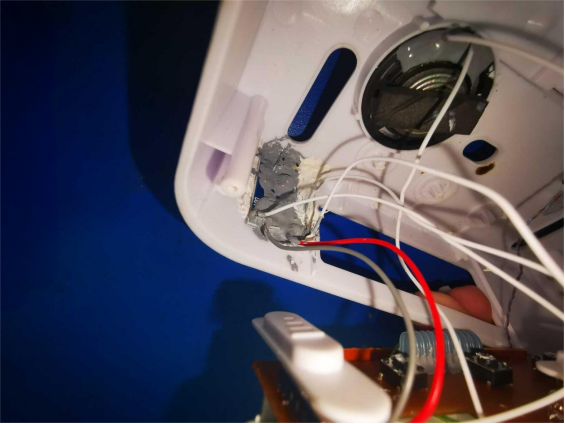
You can start by converting it to run on a 2100mAh phone battery, paired with a 4056 charging and protection module. This module supports both charging and discharging protection, plus it lets you power the clock directly via USB. The phone battery fits perfectly inside the screen backlight module. Stick the 4056 module to the back with thermal silicone gel to help with heat dissipation—see image below.
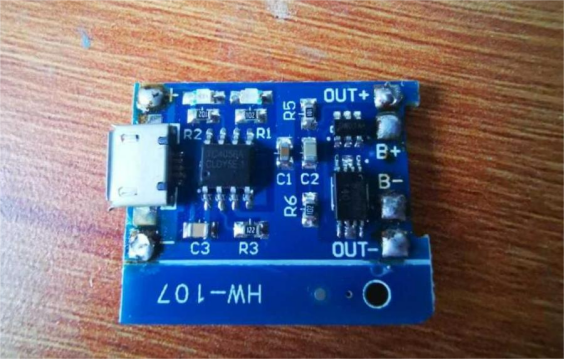
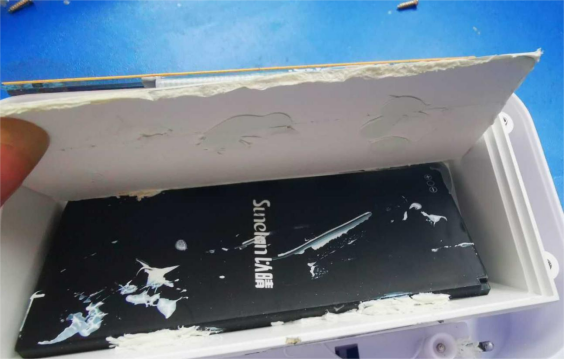
You can place the 4056 charging module in the spot shown here. Use a soldering iron to make an opening on the back side. It's recommended to use thermal silicone gel for better heat management, waterproofing, and insulation.
Here's how it should look once completed. With the 2100mAh battery and the nightlight turned off, you can expect it to last over a year on a single charge.
Step 2:
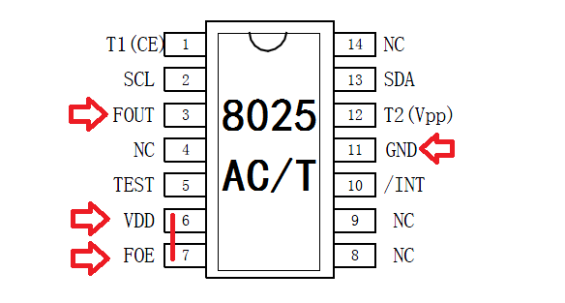
The original oscillator isn't great—it can gain a second every two days. For better accuracy without constant adjustment, consider replacing it with an RX8025, which outputs a 32.768kHz signal.
Just make sure to completely remove the original crystal and any capacitors on the board. If yours only has a single 20pF capacitor, take a closer look first—failing to remove them will seriously affect the clock's accuracy.
Here's the wiring diagram for reference:
Once done, the clock should keep time to the second with no noticeable drift.
Step 3:
Now it's time to optimize the nightlight and reduce power consumption.
The original backlight uses two diffuse LEDs, which is total overkill. Even with automatic dimming at night, the light is too bright to have beside your bed—it affects sleep and wastes power. You can just remove one of the LEDs and replace the remaining one with a UV LED instead, like this:
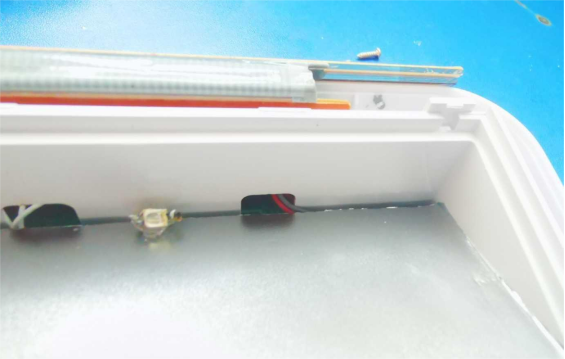
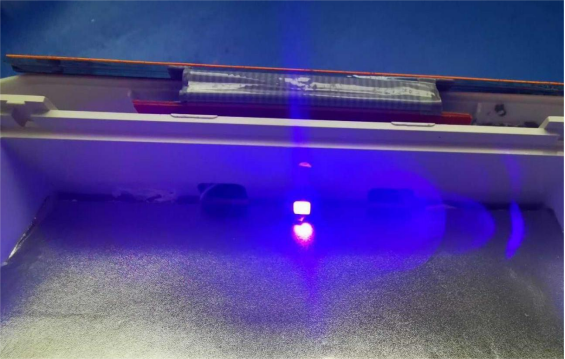
Then, stick a glow-in-the-dark film or self-luminous tape to the back of the display glass. Use green transparent film on the glass, and orange film over the glow strip.
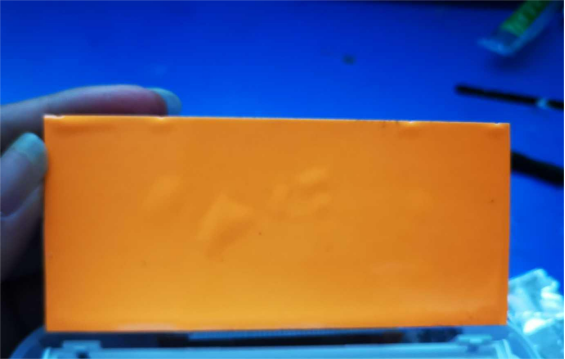
You can also choose clear glow-in-the-dark tape—it works too.
Why a UV LED?
Because you're switching the backlight to glow film, which saves energy and is easier on the eyes. When you tap the alarm button, the light turns on for a few seconds and charges the glow film, which can then emit light for over an hour—more than enough to check the time at night. Most importantly, the glow is soft and just bright enough. UV LEDs work best for this, as they provide the most efficient light energy for charging the glow film.
How to do it?
You need to grab some transparent glow-in-the-dark film, about 5 cm wide. Cut it to length and stick it on the back of the screen glass. Green glow film is recommended—it's the brightest. If you're using orange glow film, you'll need two pieces: a transparent green and an orange one. Stick the green one against the screen glass, and place the orange one facing the LED side. Done!
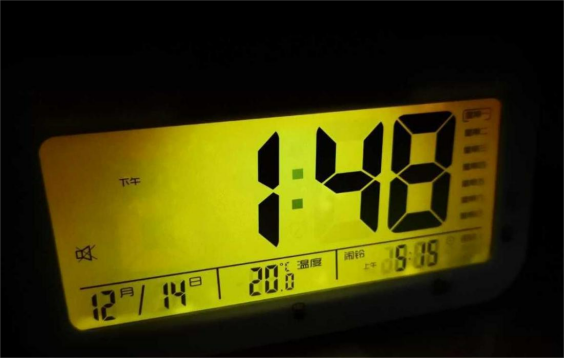
Here's what it looks like during the day when the UV light is on:
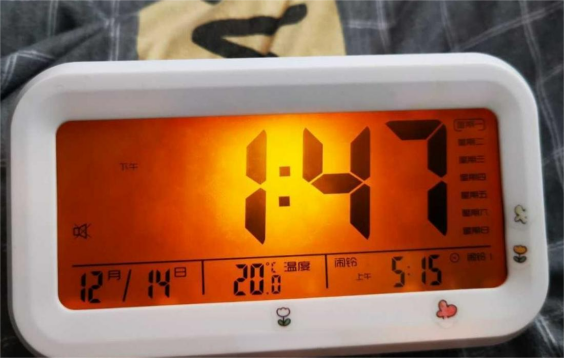
And here's how it glows in complete darkness, powered solely by the glow film:
Step 4:
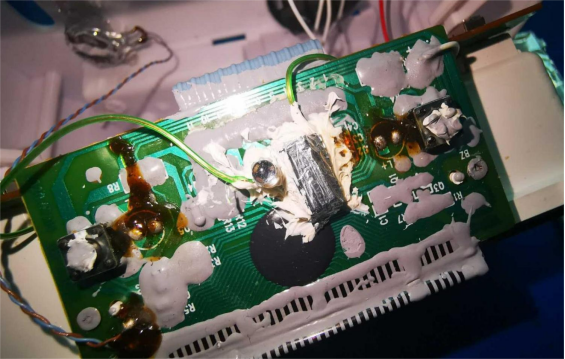
Now go over the circuit board and cover the components with thermal silicone for protection. Using thermal silicone adhesive adds basic waterproofing, too.
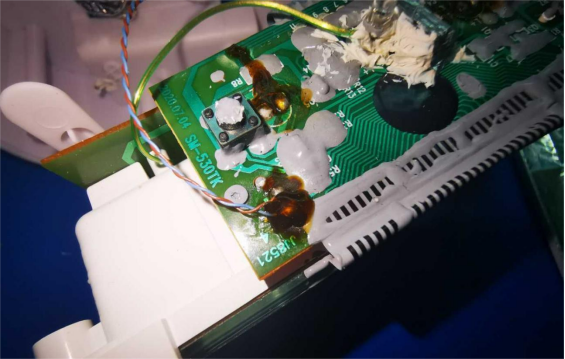
With a 2100mAh phone battery, the 4056 protection module, the glow film that lights up naturally for backlight, and a high-precision RX8025 clock module, your DIY upgrade is practically maintenance-free and accurate to the second.
That's it. Your DIY alarm clock mod is complete! It's set to last for years without needing any extra tweaks.


