
If you're interested in how to DIY a 18650 battery emergency light, this article is definitely worth checking out.
So, how do you go about making your own battery-powered emergency light?
First, you'll need two 18650 lithium batteries, connected in parallel to supply power—you can also swap them out if needed. Alternatively, you can charge it directly via a 5V input.
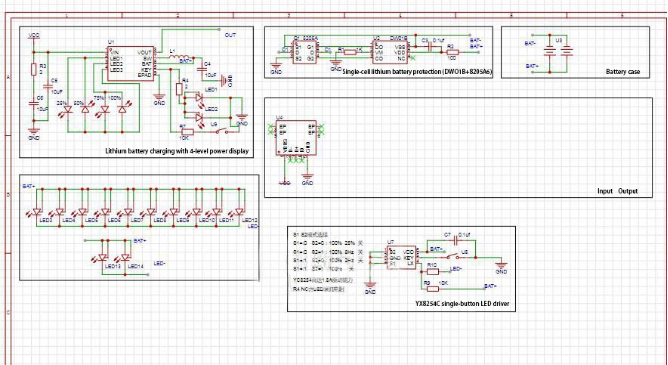
The schematic is shown in the diagram below:
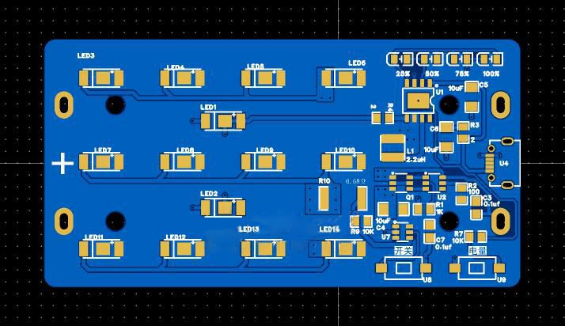
PCB Diagram
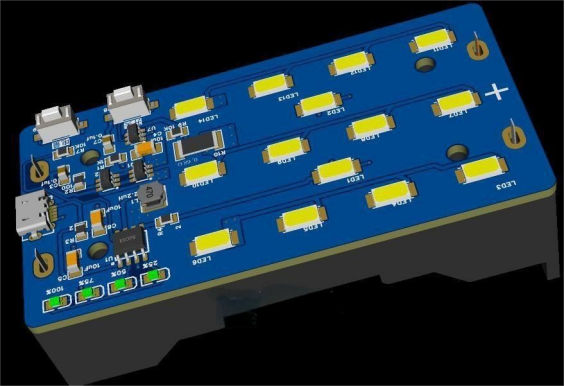
3D Diagram
Once you've made the physical version based on these diagrams, it will look like this:
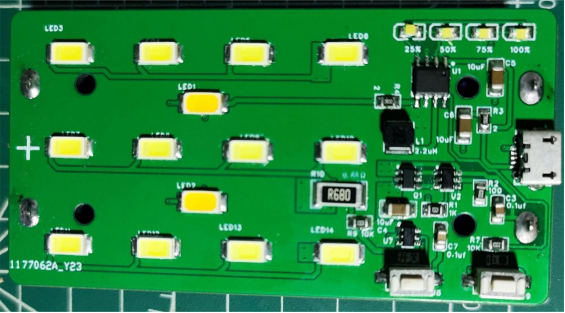
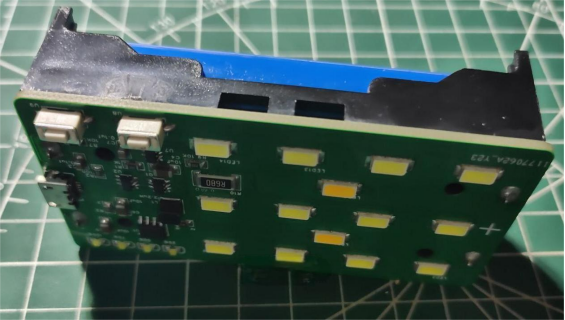
This emergency light comes with a four-LED power indicator. Once fully charged, it can stay on for a long time.
By pressing the power button for the battery indicator, you can see the current battery level.
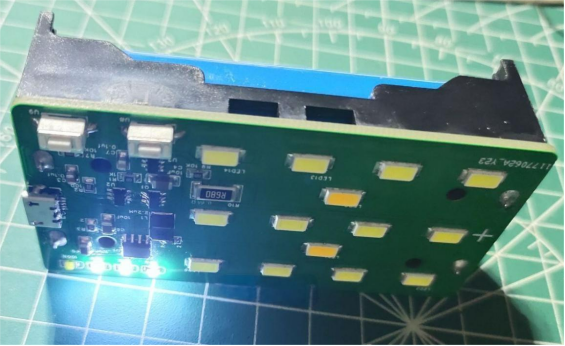
If you hold the battery button for more than three seconds, it will turn on two warm-white LEDs.
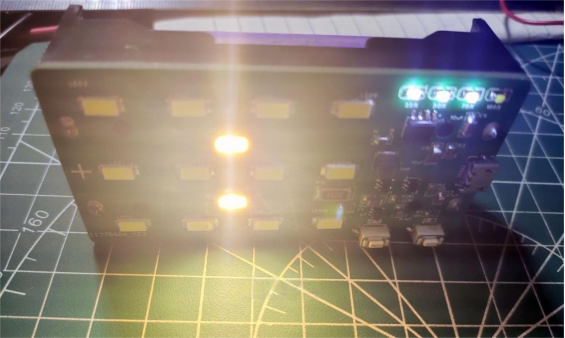
By pressing the main switch, you can turn on the high-brightness LEDs at 100% brightness. Press again to drop it to 25% brightness, and one more press will switch it to a flashing mode.
One important note: changing the current-limiting resistor can affect the power output, and the LEDs can draw up to 1.8A, so make sure to manage heat properly!
And that's it—you're done!


