
If you have a LOYE handheld thermometer, but the surface of the dry batteries inside is already uneven and about to leak, what should you do in this situation? If you're interested, keep reading.
You can switch the dry batteries to a lithium battery. The picture below shows what it looks like after the modification. For the appearance, all you need is a small hole for the charging indicator light. Once the light is in, it fits perfectly.
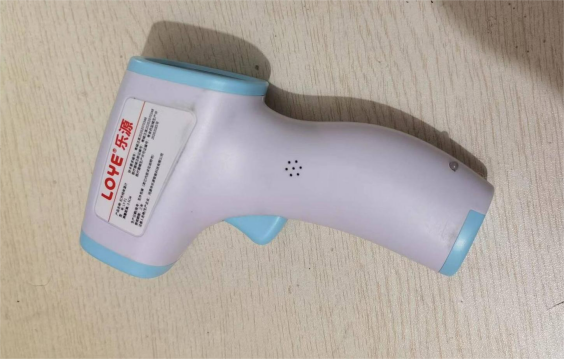
Originally, it was powered by two 1.5V dry batteries in series. To switch to lithium battery power, you will need:
· 3V voltage regulator chip: XC6206P302MR, marked 65Z5, 3.0V, low dropout linear regulator (LDO), SOT23-3
· Charging module: 4056E, current limited to 120mA
· 3.7V polymer battery: 260mAh
· Charging port: Type-C, output voltage 3.01V
All the components are shown in the picture below:
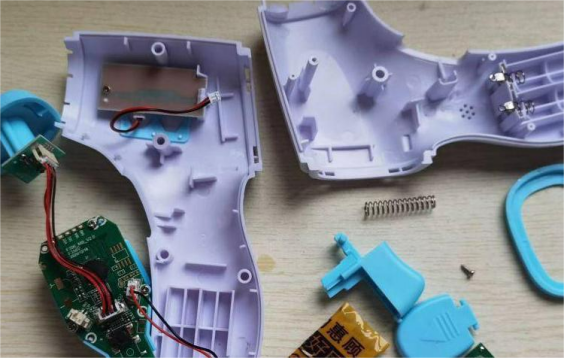
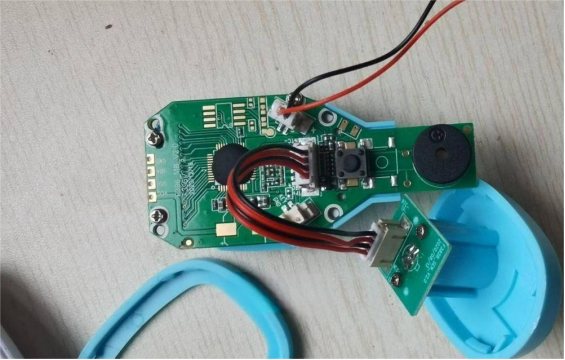
The reason we use the 4056 charging board is that other lithium batteries are too big to fit inside. So you need the smallest one, 260mAh.
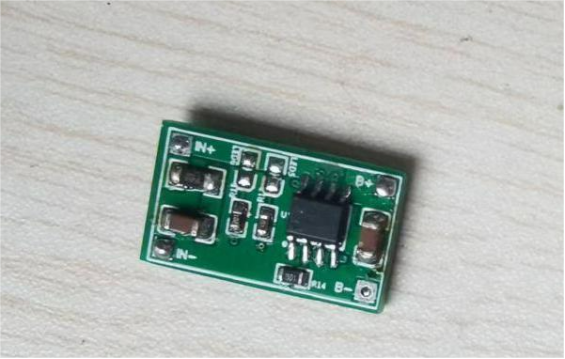
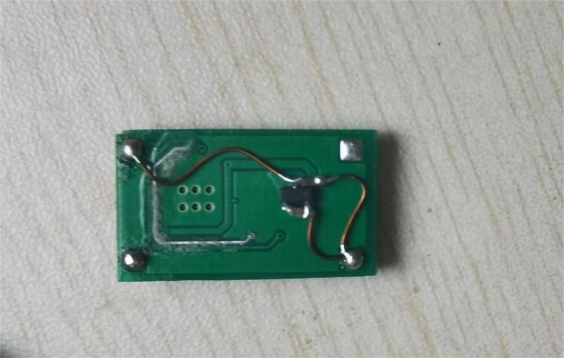
You can glue the 3V voltage regulator chip to the back using 502 glue. It's just one SOT-23 chip plus two 1μF capacitors, so the circuit is really simple.
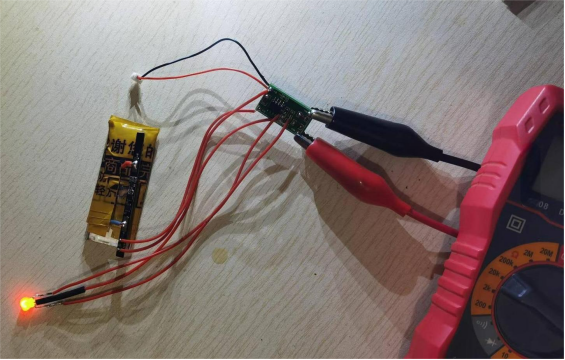
Once the charging/discharging module is soldered, you can test the charging. Limit the current to 120mA, because too much current could damage the small battery.
After monitoring its self-discharge, it stays around 4.08V, which is fine. Next, you can start assembling it.
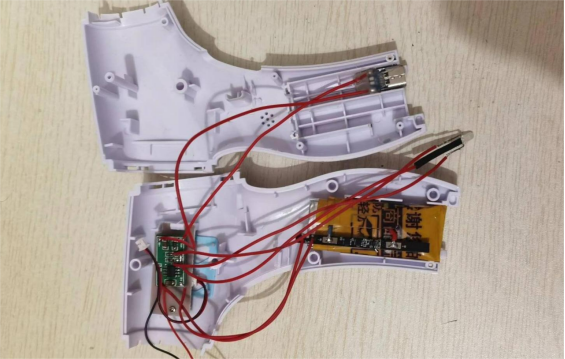
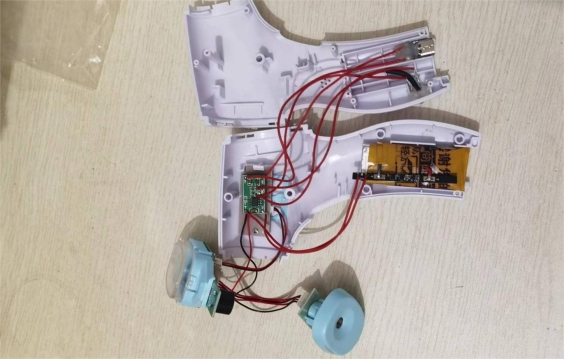
You need to place the charging port at the bottom so the cover can still fit. This also keeps it dustproof and looks nicer. If you only have red silicone wires and can't clearly separate positive and negative, make sure to check each wire carefully before soldering—it requires extra attention.
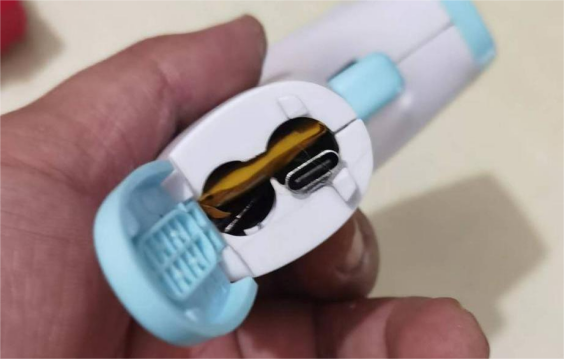
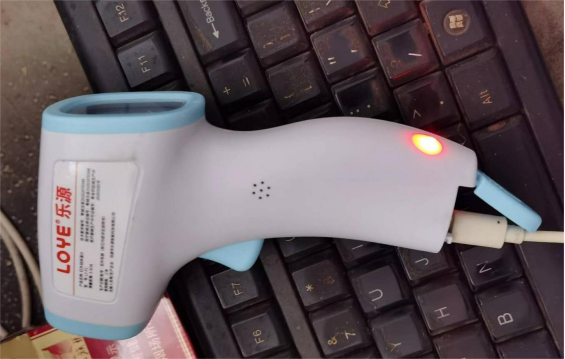
Once assembled, you can test charging. The indicator light should work normally; orange means it's not fully charged.
When the indicator light turns green, it means charging is complete, as shown in the picture below.
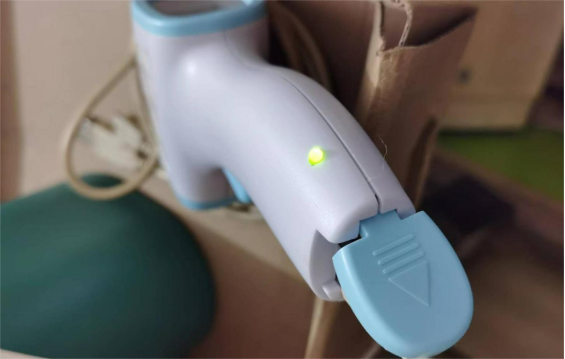
Now it's ready to use.
Done.


